In this post, I will show you how to set up a Raspberry Pi for computer vision.
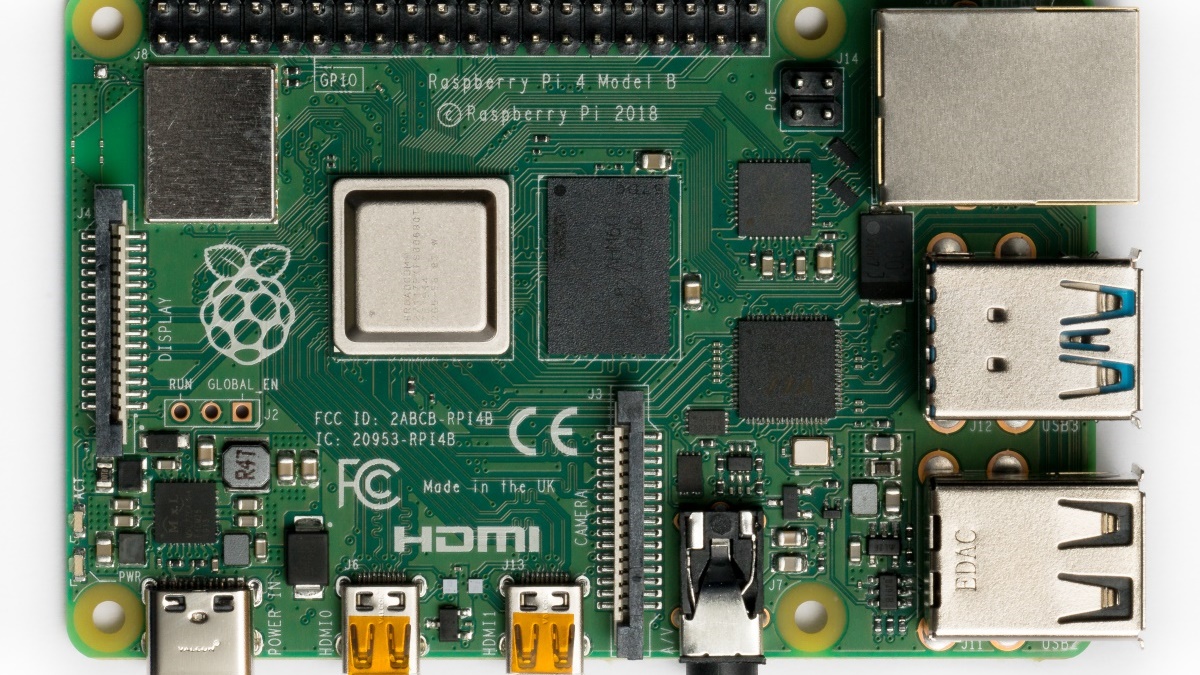
The Raspberry Pi is a series of low-cost, single-board computers, that are as small as your credit card. They have been very popular amongst hobbyists and makers around the world since the first version came out in 2012. That same year Raspberry Pi won T3’s Innovation of the Year award.
Around 30 million Raspberry Pis were sold by the end of the year 2019. — The Inquirer
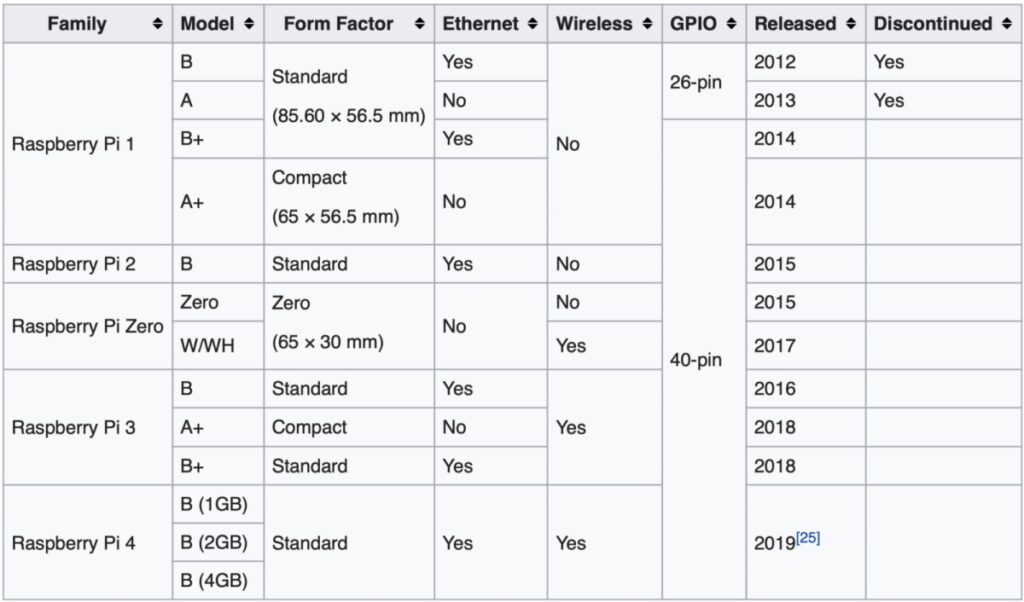
In eight years, the Raspberry Pi has gone through a lot of iterations and improvements. Below is a table showing different models of Raspberry Pi that have been released.
Projects Using Raspberry Pi
Here is a list of some interesting projects that use Raspberry Pi, to give you some ideas on how people are using it:
Home Automation
Basic Object and Motion Detection
Making DashCams
Setting up a Media Streaming Server
WhatsApp Surveillance Video Camera with IR Proximity Sensors
In this post, I will show you how to set up your Raspberry Pi 3B+ model so that you can start using it to create your own projects.
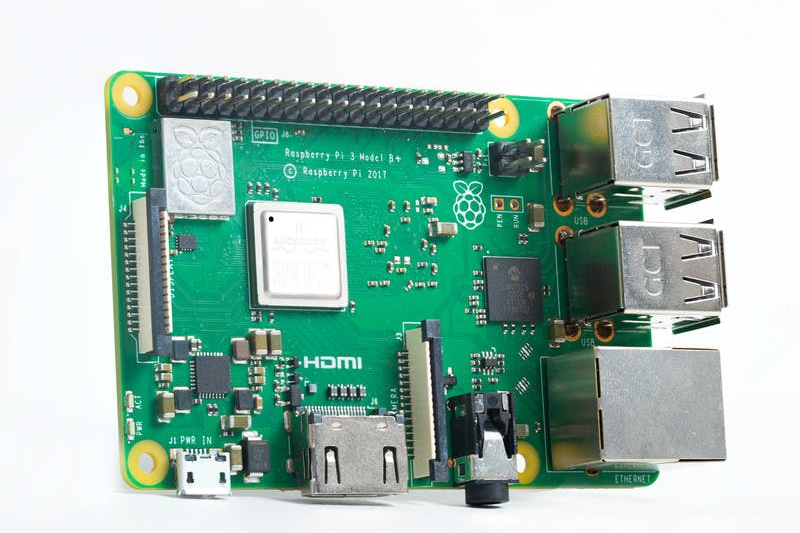
Raspberry Pi 3B+ Specifications
Raspberry Pi 3B+ is the final version of the Raspberry Pi 3 range.
Processor: Broadcom BCM2837B0, Cortex-A53 64-bit SoC @ 1.4GHz
Memory: 1GB LPDDR2 SDRAM
Networking: Gigabit Ethernet over USB 2.0 (maximum throughput 300 Mbps), 2.4GHz and 5GHz IEEE 802.11.b/g/n/ac wireless LAN
Bluetooth: Bluetooth 4.2, Bluetooth Low Energy (BLE)
GPU: Broadcom Videocore-IV
Storage: Micro-SD
GPIO: 40-pin GPIO header, populated
Ports: HDMI, 3.5mm analogue audio-video jack, 4x USB 2.0, Ethernet, Camera Serial Interface (CSI), Display Serial Interface (DSI)
Dimensions: 82mm x 56mm x 19.5mm, 50g
Operating temperature: 0–50°C
Production Lifetime: will remain in production until at least January 2023
Things You Will Need:
Raspberry Pi 3B+
SD card
SD card reader
Ethernet Cable
Operating System You Will Need to Download:
1. Raspbian Buster: This is the operating system we will be installing on our Raspberry Pi 3B+. Please download Raspbian Buster with desktop and recommended software.
Software that You Will Need to Download:
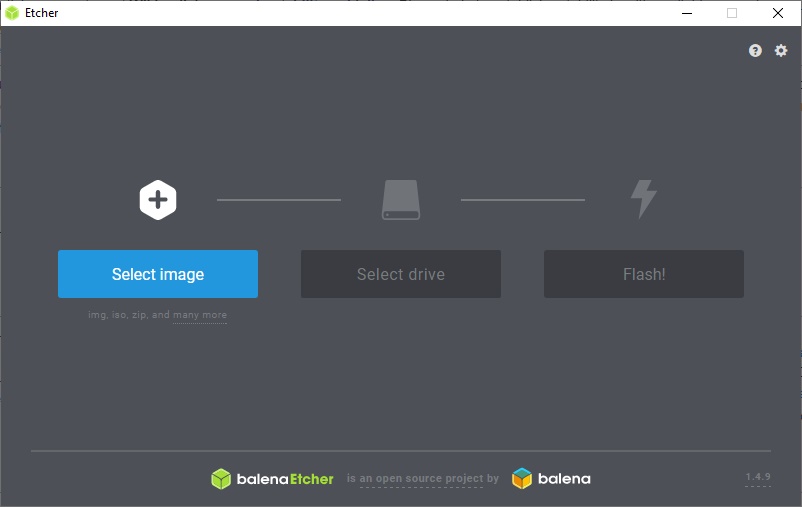
1. Etcher: Etcher is a free and open-source utility used for writing image files such as .iso and .img onto storage media to create live SD cards and USB flash drives.
2. VNC viewer: VNC viewer is software that allows remote access and control of a device that has VNC server enabled.
Steps to Set Up Your Raspberry Pi for Computer Vision:
1. Insert the SD card into your PC/laptop using the SD card reader.
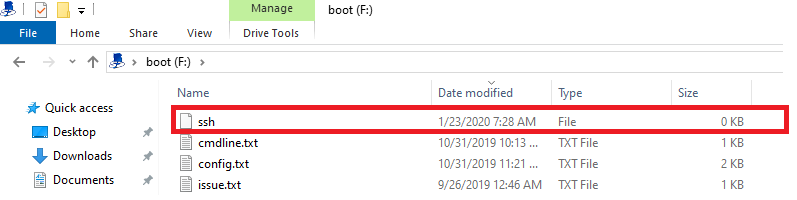
2. Format the SD card.
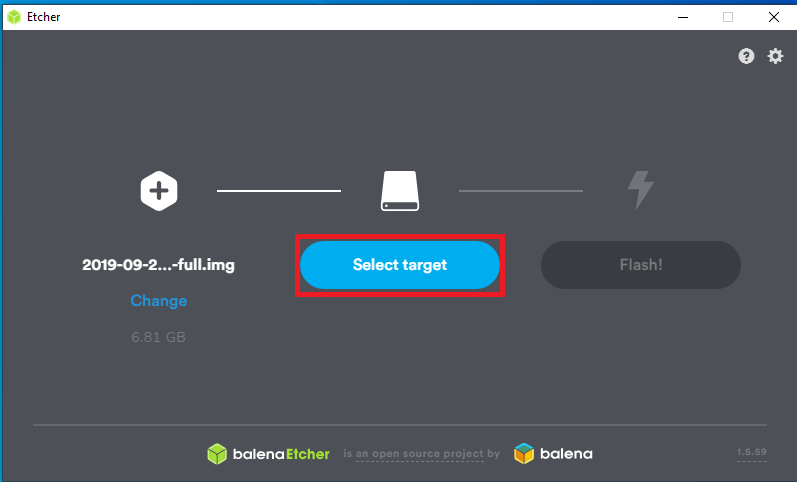
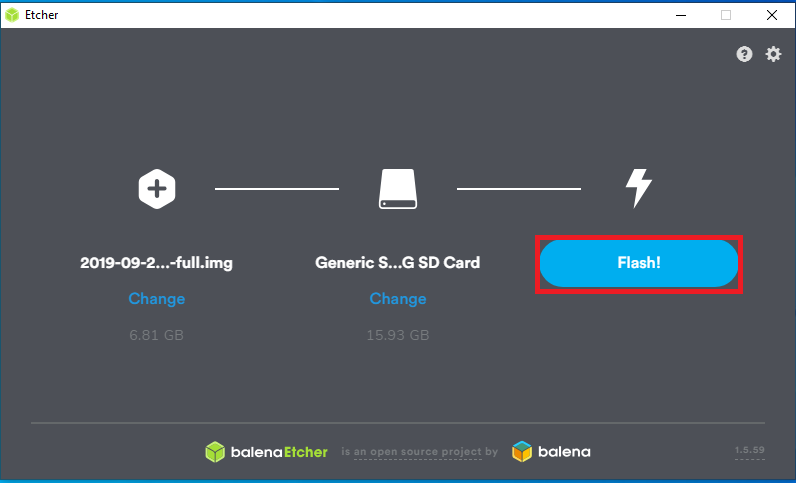
3. Use Etcher software to burn the Raspbian Buster image file to the SD card.

4. Now from remote access, connect it to wifi so that you can access it without having to connect it to the PC using an ethernet cable.
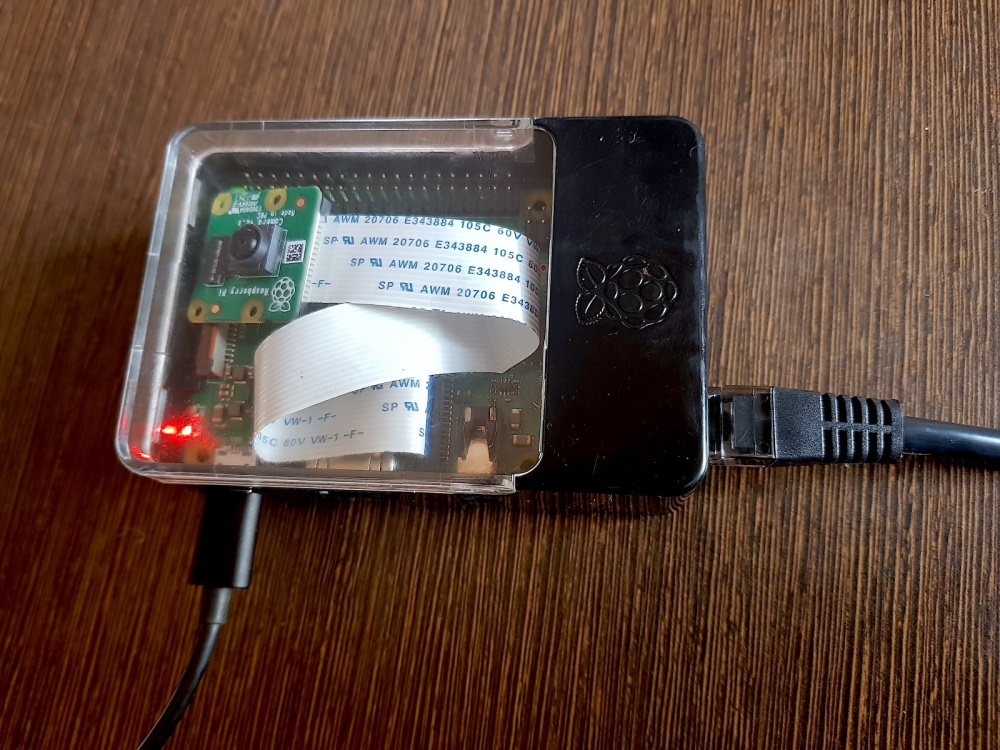
5. Eject the SD card from the PC/laptop, insert it into the Raspberry Pi, and turn the Raspberry Pi on by connecting it to power.
6. Connect the Raspberry Pi to the PC/laptop using an ethernet cable.
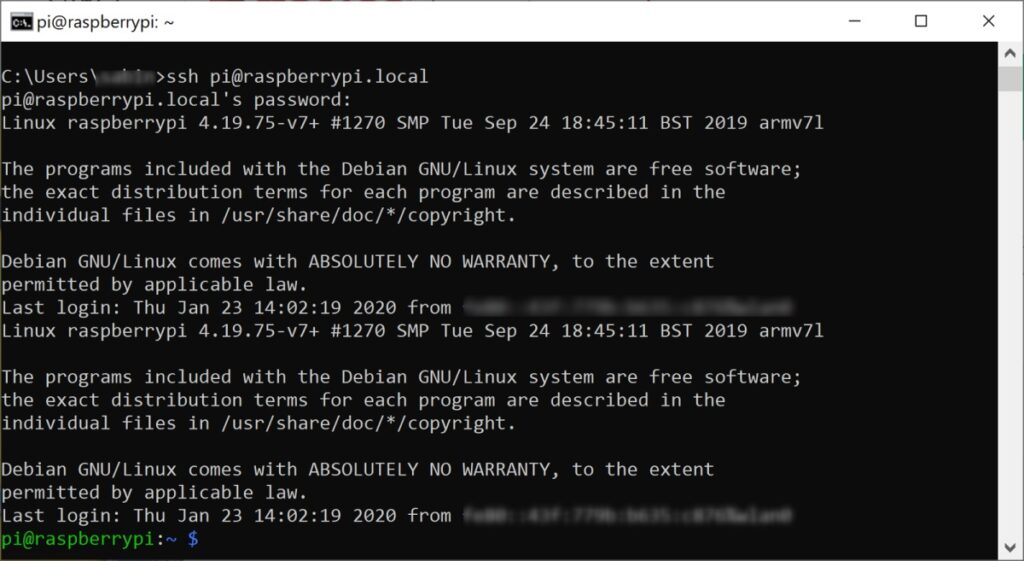
7. SSH into the Pi from your PC using terminal. Enter the following command:

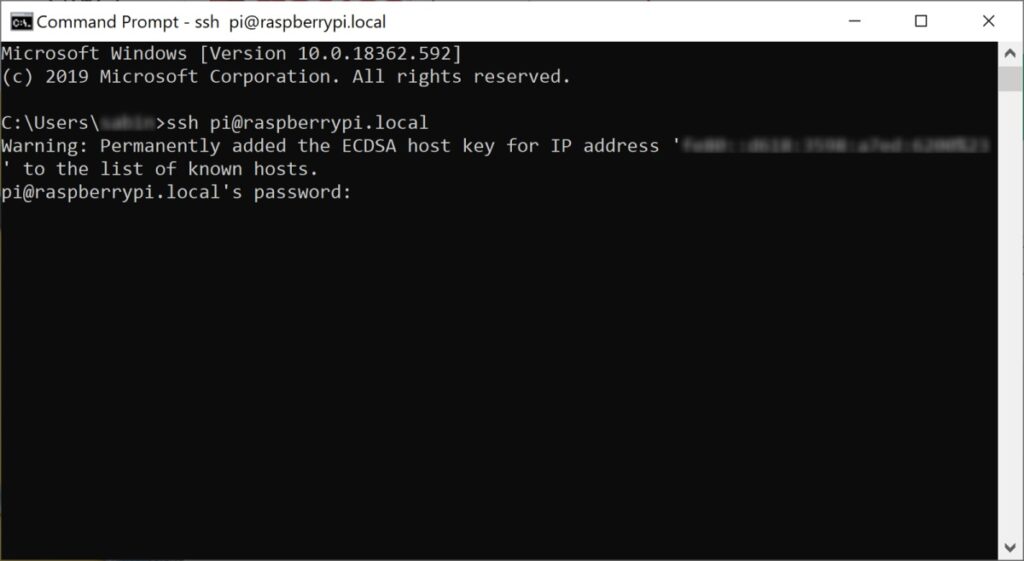
8. You will be prompted to enter a password. Enter the default password (raspberry).
9. Now enable vncserver on the Raspberry Pi using the following command:


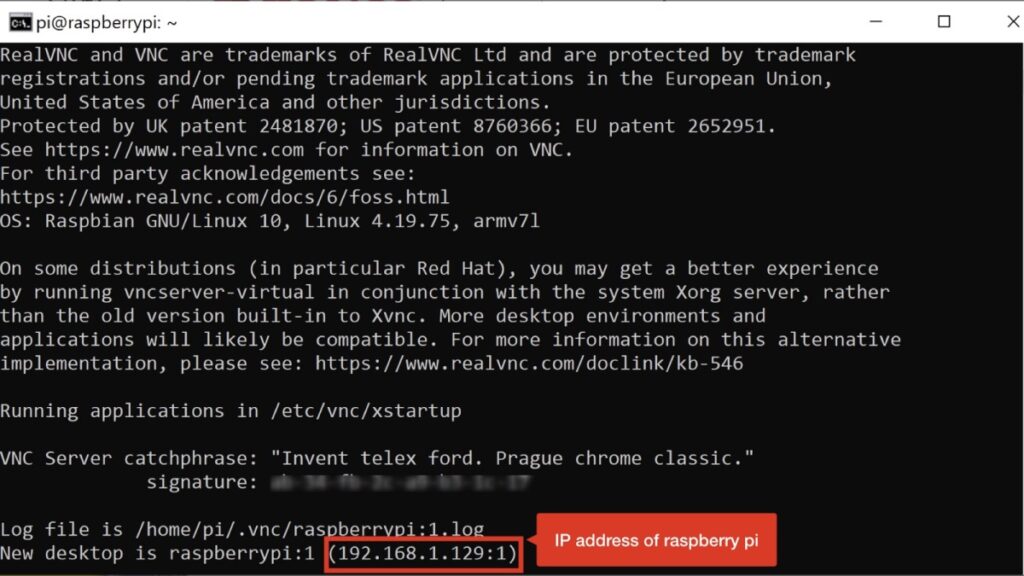
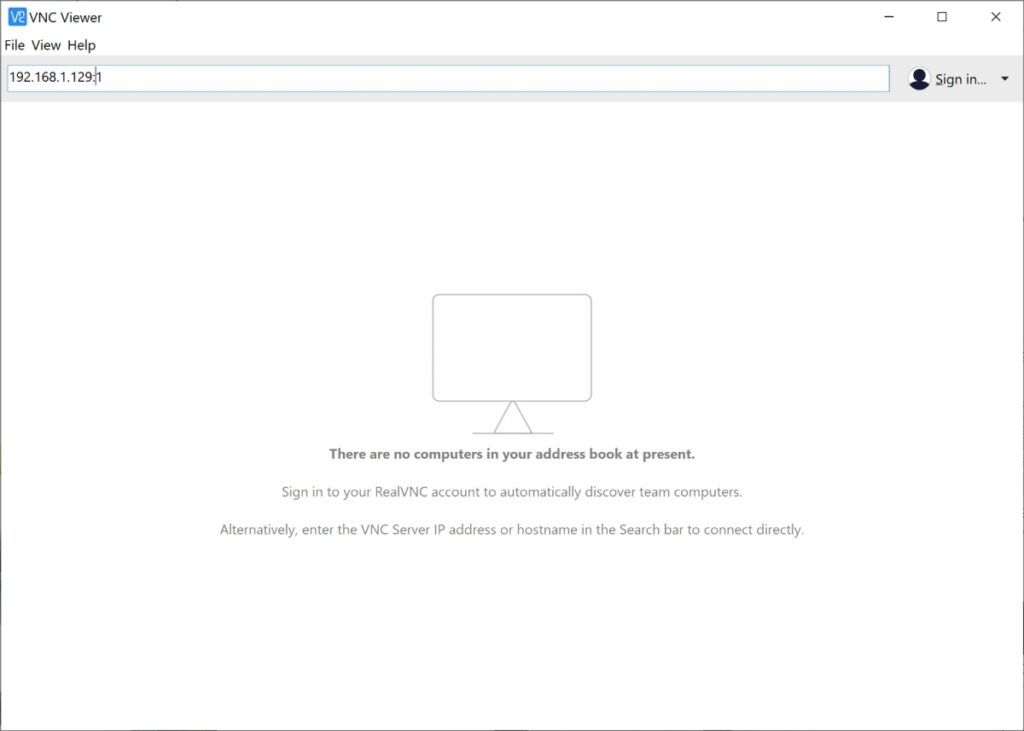
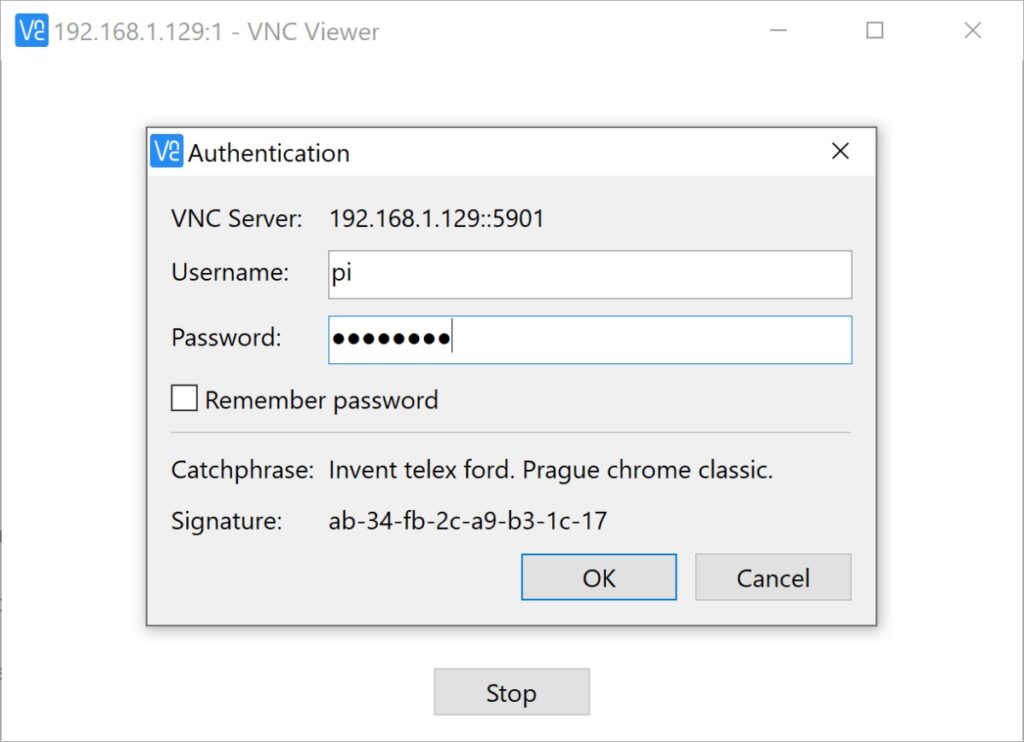
10. From your PC, open VNC viewer and add the IP address of the Raspberry Pi to remotely connect to it.

11. Now from remote access, connect it to wifi so that you can access it without having to connect it to the PC using an ethernet cable.
All done! You now know how to set up a Raspberry Pi for computer vision, and your Raspberry Pi 3B+ is ready to be used.
If you’re looking to implement real-time face detection on a Raspberry Pi, then check out this post, or this one to implement real-time face tracking.
About the Author